
Last updated November 21, 2026
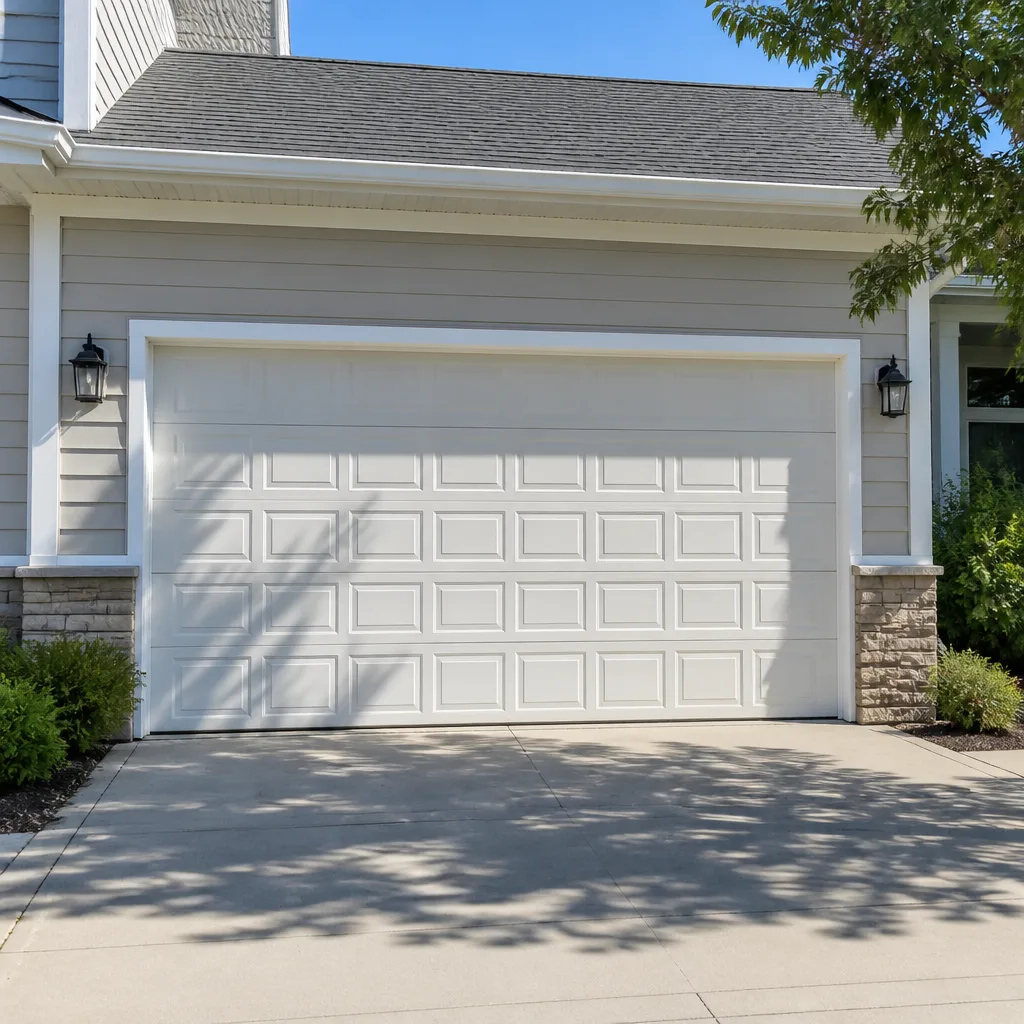 Raised-panel steel
 Carriage house
 Modern flush
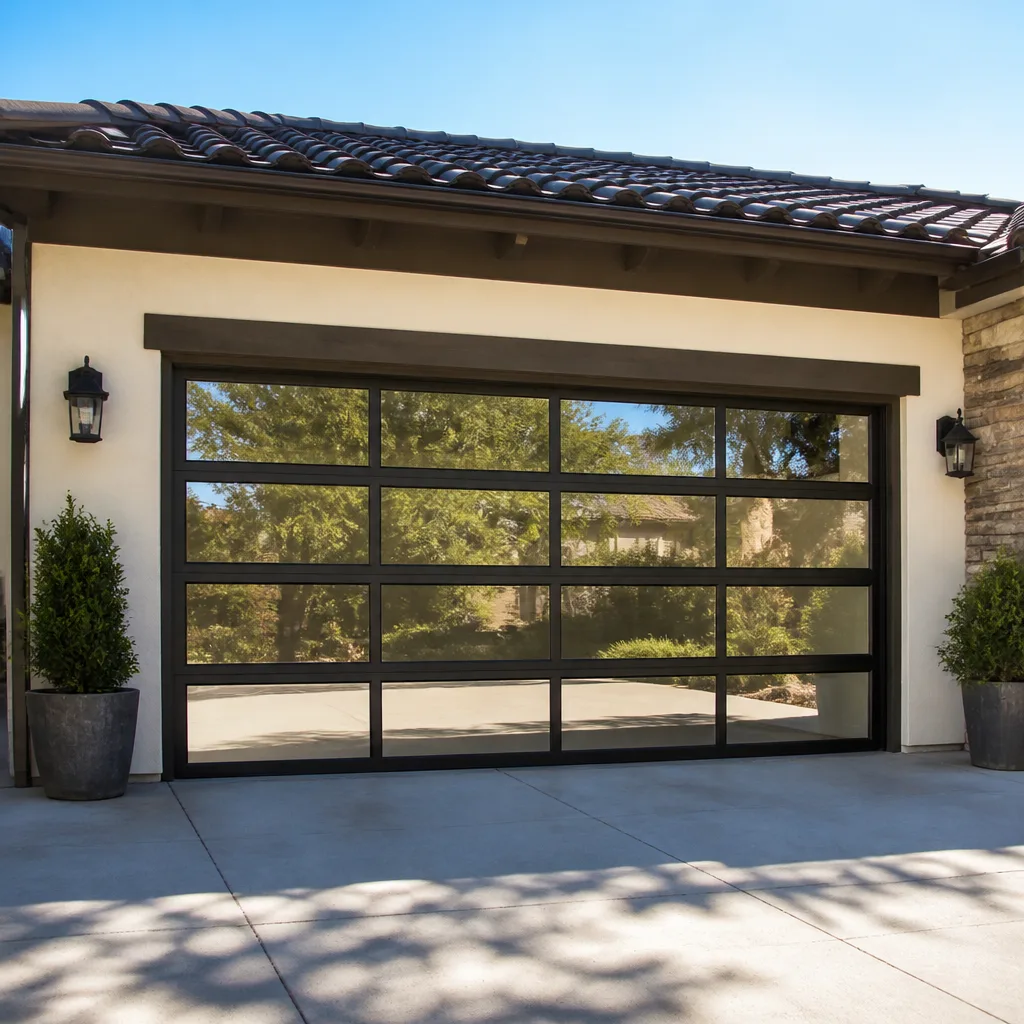 Full-view glass
 LiftMaster openers
 Chamberlain openers
Full 25-point door and opener safety check with every visit - springs, cables, rollers, tracks, and your LiftMaster or Chamberlain opener included
You get a price before we start. It does not change when the pro arrives.
Get your free estimateGarage Door Repair Maintenance Checklist for Baytown Homeowners
Most garage door checklists you’ll find online are written for a climate that isn’t ours. They tell you to lubricate and inspect, then move on, which is fine advice anywhere but not especially useful here. What we see on service calls around Baytown is different: springs that fail early because of surface corrosion, opener logic boards that have quietly baked through a run of hot, humid summers, and seals that let in water because nobody knew what a worn one actually looks like. This guide covers the failure points that show up here, with a monthly, semi-annual and pre-hurricane-season schedule you can follow without overthinking it.
Quick Answer
The core of a Baytown garage door maintenance checklist is checking springs, hinges and rollers for surface corrosion, spraying nylon rollers and hinges with a silicone-based lubricant instead of WD-40, testing the opener’s safety reverse, and inspecting the bottom seal for compression wear. Do the light checks monthly, the deeper tune-up twice a year, and a full safety pass before hurricane season. Serious spring, cable and opener work belongs with a specialist.
Styles & brands we work with
- Raised-panel steel
- Carriage house
- Modern flush
- Full-view glass
- LiftMaster openers
- Chamberlain openers
Table of Contents
- Why Generic Checklists Fall Short in Baytown
- Component-by-Component Corrosion Inspection
- Lubrication: What to Use and What to Skip
- Threshold and Weatherstrip Seal Inspection
- Opener Heat Stress Check
- Monthly, Semi-Annual and Pre-Hurricane-Season Task Breakdown
- Safety Tests Every Homeowner Should Run
- When to Call a Professional
- Common Mistakes to Avoid
- Frequently Asked Questions
Why Generic Checklists Fall Short in Baytown
Garage door maintenance advice usually treats wear as the only reason parts fail. That’s only half the picture. Around Baytown, the bigger driver is moisture. Humidity hangs in the air long enough that condensation forms on cold metal most mornings, and even a garage that’s mostly enclosed sees it. Springs, hinges and roller stems pick up that film and, over months, begin to show corrosion that has nothing to do with how much the door is used.
A torsion spring is under constant tension from the moment it’s installed. That tension is concentrated at the coil and at the anchor points, and any surface pitting becomes a stress riser. Over time the metal fatigues faster than it would on a dry spring. Homeowners rarely connect a snapped spring to corrosion because they never looked at the coils. Every technician we send out has seen this pattern enough times to predict it. Corrosion first, then fatigue, then a door that won’t lift.
That’s why this checklist leads with inspection and not just lubrication. Lubricating a corroded hinge just hides the problem. Photo-documenting your components and doing a quick visual check every month is what actually extends service life here. Combined with a semi-annual deep pass and a pre-season safety review, most homeowners can add meaningful life to their door without ever picking up a wrench for the hard stuff.
Component-by-Component Corrosion Inspection
When you look at a typical Baytown garage door system, the corrosion risk isn’t uniform across the hardware. Some components corrode far faster than others. Here’s where to look, in order of what fails first.
Spring Coils and Anchor Points
Torsion springs live above the door, usually on a shaft. Extension springs run alongside the top tracks. On both types, look for chalky gray or white buildup between coils, dark pitting on the wire, or rust bloom at the ends where the spring seats into the cone. Any visible corrosion means the spring is losing strength and worth photographing so you can show a technician later.
Hinges
Numbered hinges connect panels. Open the door about halfway, then look at the pivot points. Rust forming on the pin, or hinges that squeal and feel stiff, indicate corrosion has already started at the joint. Hinges with noticeable side play are past being saved by lubrication.
Roller Stems and Bearings
Steel rollers on steel stems are the second-most-failure-prone wear point. Look at the shaft where the roller meets the hinge. Fine rust dust on the stem signals the bearing is degrading. Nylon rollers hold up better here, but the stems still corrode. If a roller feels rough when you spin it by hand, it’s done.
Cables
Run a gloved hand along each cable where it’s visible. Fraying, kinks, or rust bloom on the strands (rather than just on the drum) all mean replacement is coming. Never try to adjust, tension or remove a cable yourself. Cables are under extreme load and can cause serious injury.
For any of these components, our garage door repair team can take a look and tell you what’s failed versus what’s just wearing in. It’s worth knowing the difference before you replace things that still have years left in them.
Lubrication: What to Use and What to Skip
Here’s the honest truth: WD-40 is not a garage door lubricant. It’s a solvent and light penetrating oil, and while it will silence a squeak for a few days, on nylon rollers it does more harm than good. It strips the factory lubricant from the bearing surface and, because it doesn’t stay put, leaves the roller running dryer than before. In our climate, that really matters, because a dry bearing is a corroding bearing.
Silicone spray lubricant is the right choice for most roller and hinge applications. It’s not sticky, so it doesn’t attract grit, and it clings to nylon without breaking it down. We recommend these three types of product for the job:
- Silicone spray for nylon rollers, hinge pivot points and the torsion shaft bearings. Brands like Blaster Silicone or 3-IN-ONE Silicone work well and are easy to find.
- White lithium grease for the manual lock mechanism and, sparingly, on metal-on-metal contact points like the spring winding cone (only the cone, never the coils).
- Spray wax for the vertical tracks. It’s non-tacky and won’t collect the dust that lubricant attractants do.
A few things to skip. Don’t use motor oil on anything; it drips and stains concrete. Don’t use petroleum jelly, which is sticky and attracts grit. And don’t spray anything on the torsion spring coils; that’s an area for a technician to inspect, not for homeowner lubrication. The coils are under extreme tension and adjusting or working around them is where serious injuries happen.
Do lubricate nylon rollers and hinges every 4 to 6 months in Baytown’s humidity. That’s more often than the annual recommendation you’ll see in dry climates. A door that runs quietly and with less resistance also puts less load on the opener, which extends the life of the whole system.
Threshold and Weatherstrip Seal Inspection
The bottom seal and side weatherstrip are easy to overlook because they fail quietly. There’s no dramatic noise, no obvious symptom. What you get instead is water intrusion at the door base and, eventually, panel damage, which is a much bigger bill than a new seal.
To check the bottom seal, close the door and look at the line where the rubber meets the concrete. A healthy seal makes even contact along the whole width. Push lightly on the middle of the door with the door closed and look for daylight underneath. If you can see light peeking through, that’s a failing seal. Black streaks on the concrete, or a floor that stays damp after a rain, are also telltale signs.
What “Failing” Looks Like vs. Normal Wear
Normal compression wear shows up as a slightly flatter profile along the sealing edge and a faint imprint left on concrete where the door contacts. That’s expected. Failing looks different. Look for:
- Cracks or splits in the rubber, especially at the corners
- Hardened or brittle rubber that won’t spring back when you pinch it
- Sections of the seal that have pulled away from the retainer
- Visible gaps at the sides where weatherstrip has shrunk or hardened
- Any light coming through the seal when the door is closed
Replacing a bottom seal is one of the easier DIY-friendly tasks if you’re comfortable measuring and cutting. The side weatherstrip is a little trickier, since it needs to fit correctly against the door’s travel path. If unsure, our team at Baytown Garage Door Repair Pros can measure and quote it as part of an on-site visit.
Opener Heat Stress Check
Garage openers live in the hottest space in the house. Even a well-vented garage in Baytown gets warm across a long summer, and the opener’s logic board and motor have to keep working through that. Heat stress doesn’t usually kill an opener outright; it slowly degrades components until one day the door just won’t respond. That’s the failure that catches homeowners off guard.
With a LiftMaster or Chamberlain system, you can run a basic heat-stress check without opening the unit. Look for these signs during summer:
- Test the remote response on a hot afternoon. If the door responds slower than it does in the morning, the board is starting to struggle.
- Listen for a change in motor pitch during the first 3 seconds of operation. A strained or raspy sound that wasn’t there months ago is worth a checkup.
- Check the travel limits by watching where the door stops on open. If it’s creeping short of full open, or reversing early on close, the limit switches or board are involved.
- Test the safety reverse every 30 days by placing a 2×4 flat on the floor across the door’s path. The door should reverse on contact. If it doesn’t, the opener is a safety issue and should not be used until it’s fixed.
For Genie and Chamberlain units with battery backup, also check the battery indicator light after a long summer; heat shortens battery life too. If you see any of these signs, a garage door opener repair visit will tell you whether you’re looking at a board problem, a limit switch, or something simpler like a misaligned safety eye.
Monthly, Semi-Annual and Pre-Hurricane-Season Task Breakdown
Not every task needs to happen with the same frequency. Spreading the work across three tiers – monthly, semi-annual, pre-season – keeps you from over-maintaining while still catching the things that actually matter in Baytown’s climate. Here’s the split we recommend.
Monthly Tasks (5-10 minutes)
- Test the safety reverse with the 2×4 method described above.
- Spin each roller by hand and listen for roughness or squealing.
- Look at the bottom seal for daylight while the door is closed.
- Walk the perimeter and check the safety-eye alignment at the bottom of the tracks. The LED on each eye should be solid, not blinking.
- Watch and listen to the door through one full open-close cycle. Note any new sound.
Semi-Annual Tasks (30-45 minutes)
- Lubricate hinges, roller stems and the torsion shaft bearings with silicone spray.
- Inspect hinges and roller stems for corrosion; photograph anything that looks like a failure.
- Wipe down the vertical tracks with a dry cloth, then apply spray wax.
- Check the balance of the door by disconnecting the opener and lifting the door manually to the halfway point. If it stays, it’s balanced. If it drops or rises, call for service; that points to spring tension and isn’t a homeowner adjustment.
- Examine the cables where visible. Do not attempt any adjustments or tensioning.
Pre-Hurricane-Season Tasks (June, one full pass)
- Full corrosion inspection on springs, hinges, roller stems and cables.
- Confirm every bolt on the track brackets and door hinges is snug (do not overtighten; this can crimp the track).
- Test opener operation on the hottest afternoon you can, and note any sluggishness.
- Inspect the bottom seal and side weatherstrip for hardening; replace iffy seals before storm season.
- Check whether your door has wind-load reinforcement appropriate to your area. If you’re unsure, ask a specialist; don’t assume.
- Schedule a professional tune-up if any of the above turned up a problem. Our garage door spring repair team handles the spring issues that home inspections turn up.
Safety Tests Every Homeowner Should Run
Beyond the reverse test, there are a few more checks worth running on a regular basis. These catch the failures that risk more than a stuck door.
Photo-Eye Test
With the door open, wave an object (a broom handle works) across the path of the safety eyes while the door is closing. It should reverse immediately on interruption. If it doesn’t, the eyes are misaligned, dusty, or failing. Clean the lenses first, then test again.
Force Setting Test
Most openers have a force adjustment. Too high, and the door can press hard enough to damage objects or injure someone. Too low, and the door reverses on its own mid-cycle. A trained technician should set this; safety testing is not something to adjust by guesswork. As a homeowner, you can watch for the symptom: a door that reverses randomly mid-close, or one that pushes down with noticeable force before stopping.
Manual Release Test
Find the red emergency release cord hanging from the opener trolley. Pull it to disconnect the door from the opener. The door should lift manually without excessive force. If you can’t lift it comfortably, spring tension is off and needs professional attention. Reconnect by moving the door until the trolley clicks back into position.
What Not to Test Yourself
Don’t test spring tension by unwinding or adjusting anything. Don’t try to move a door whose cable has snapped. Don’t open the opener housing to test the board. Those three things cause the majority of serious injuries related to garage doors, and they’re all things a specialist handles with the right tools.
Common Mistakes to Avoid
- Using WD-40 on rollers and hinges. It strips the factory lubricant, dries out quickly in Baytown’s humidity, and makes the corrosion worse. Use silicone spray instead.
- Skipping corrosion inspection on the springs. Homeowners check the visible wear points and ignore the coils. That’s where premature failure shows up here, and it’s the most expensive miss.
- Adjusting spring tension to fix a heavy door. A door that feels heavy usually needs new springs, not a tweak. Trying to adjust them is the single most dangerous thing a homeowner can do with a garage door.
- Trusting annual lubrication to be enough. In Baytown’s humidity, twice-yearly lubrication is the practical minimum. Annual is what works in dry climates.
- Ignoring a bottom seal that looks “mostly fine.” Small cracks and hardening are the early stage. Replacing a $30 seal is far cheaper than the panel damage from a season of water intrusion.
- Running the opener through a hot afternoon without testing it. Heat stress failure catches homeowners off guard. Test in the heat, not at 7 in the morning when everything feels fine.
- Assuming a general handyman can service your door. Springs, cables and opener boards need brand-specific knowledge and the right equipment. Your LiftMaster or Chamberlain system, specifically, is worth servicing by a specialist.
When to Call a Professional
Some things on this checklist you can do yourself. Others shouldn’t be attempted without training. Call a professional when you see a broken spring (visible gap in the coil), a snapped cable, a door that hangs unevenly or won’t lift, an opener that runs but the door doesn’t move, or any stuck door that’s left your garage open or closed when you need it. Those are the situations where a specialist saves you time, risk and money in the long run.
If a door fails on a Saturday, we’re closed that day. Call and we’ll book you for Sunday. We answer 24/7 for scheduling. For active emergencies, we offer fast dispatch from 7am to 7pm, Sunday through Friday.
Baytown Garage Door Repair Pros offers free estimates in Baytown. Our technicians have up to 14 years of experience and are trained on Raynor, LiftMaster, Chamberlain and Genie systems as part of our service across eight major brands. Call (877) 492-3142 to get the door back in service.
Frequently Asked Questions
Every 4 to 6 months is the practical minimum in our climate. The humidity speeds up corrosion and dries out lubricant faster than in drier areas, so the annual recommendation from generic guides isn’t enough here. Use silicone spray on nylon rollers and hinges, not WD-40. If your door gets heavy use, lean toward the 4-month end of that range.
No. Torsion and extension springs are under extreme tension, and a spring failure during handling can cause serious injury. This is the one repair we always advise against DIY. Spring repair is a specialist job that requires proper tools and training. If your spring looks corroded or your door is heavy, call (877) 492-3142 for a free estimate.
Normal wear shows a slightly flat profile and a faint imprint on the concrete. A failing seal has cracks, splits, hardened rubber, sections pulling from the retainer, or daylight visible underneath when the door is closed. Failing seals let water in and often lead to panel damage, so replace them before the next rainy stretch.
The signs are a slower response on hot afternoons, a change in motor pitch, creeping travel limits, or intermittent failures to open. Test in the heat of the day, not in the morning. Any of those symptoms is worth a diagnostic visit, since the fix could be a simple limit adjustment or a board replacement. Call (877) 492-3142 to book a check.
Yes, especially before hurricane season. A tune-up catches the corrosion and balance issues that lead to spring failure, and it typically costs far less than an emergency repair. The written estimate sets the price before any work starts, so there are no surprises. Call for a free estimate.
Stop using it until a technician checks it. Random reversing is usually a force setting or safety eye issue, and a stuck door may have a failing spring or binding track. Both are worth a professional look. Call (877) 492-3142 and we’ll book you in for a diagnostic. We answer 24/7.
The Bottom Line
Maintenance on a Baytown garage door comes down to three things: check for corrosion on the parts most likely to fail, lubricate on a schedule that matches our humidity, and test safety features every month. Springs, hinges, roller stems and seals are where the failures happen. Opener boards are worth a heat check each summer. Do the light monthly checks, the deeper semi-annual pass, and a pre-hurricane-season overhaul, and you’ll get more years out of the system than any generic checklist gets you. For the work that requires a specialist, our team at Baytown Garage Door Repair Pros is one call away at (877) 492-3142.
Call (877) 492-3142 for a free estimate. We answer 24/7. Fast dispatch from 7am to 7pm, Sunday through Friday.
Written by the team at Baytown Garage Door Repair Pros.
See the difference
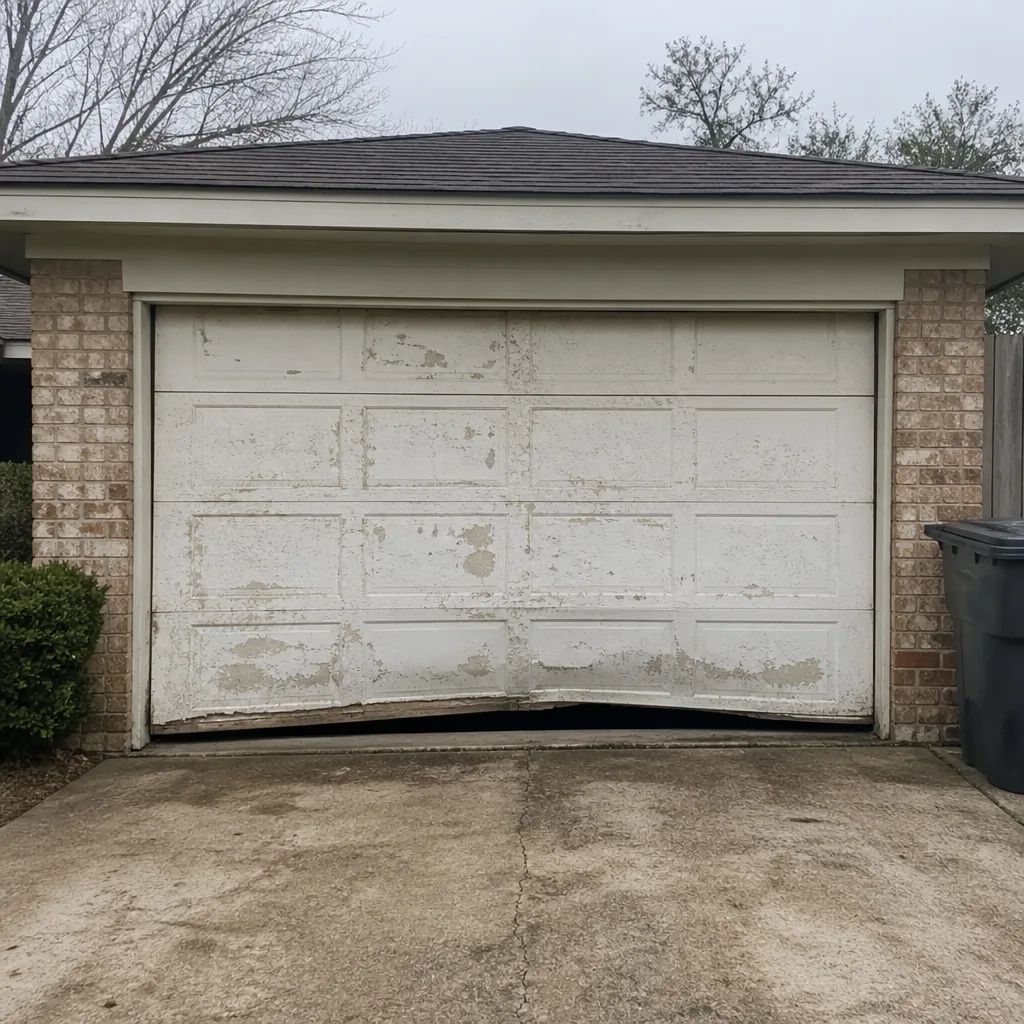 Before
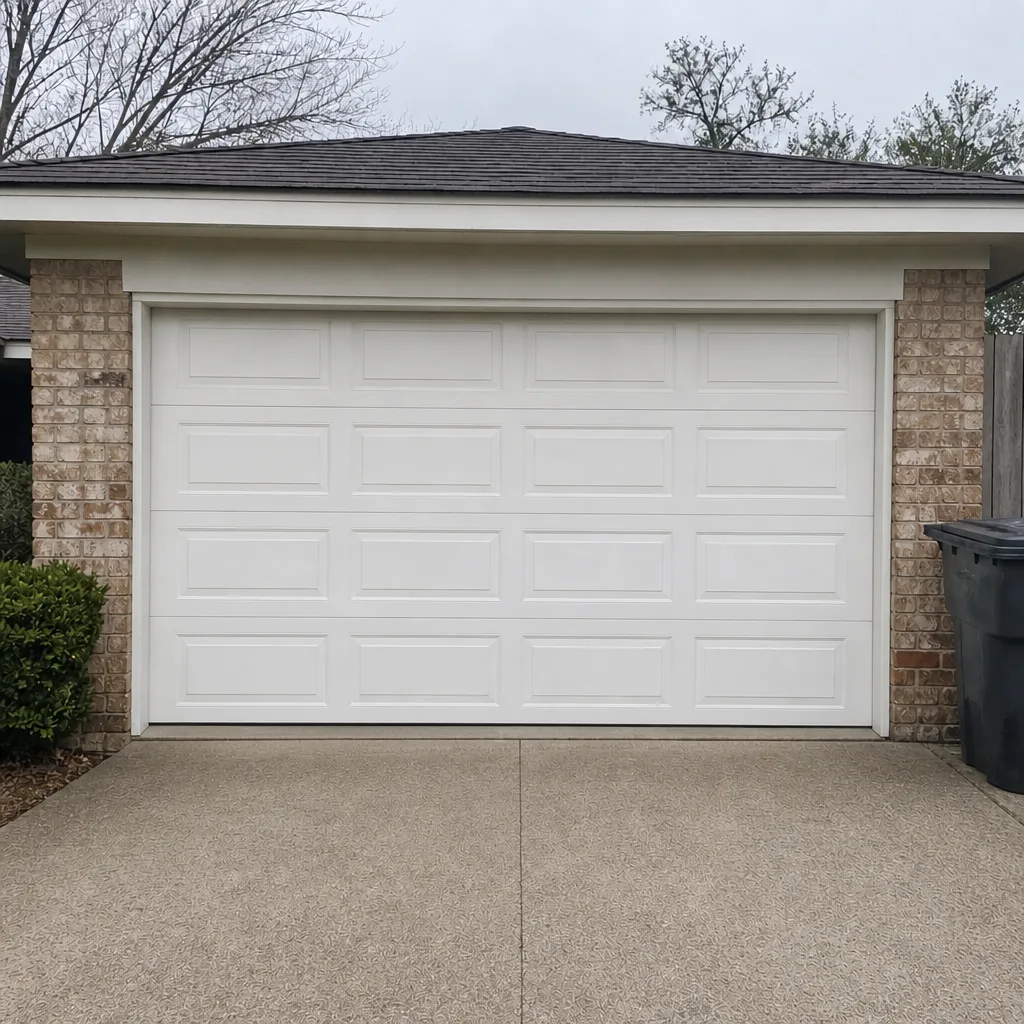 After
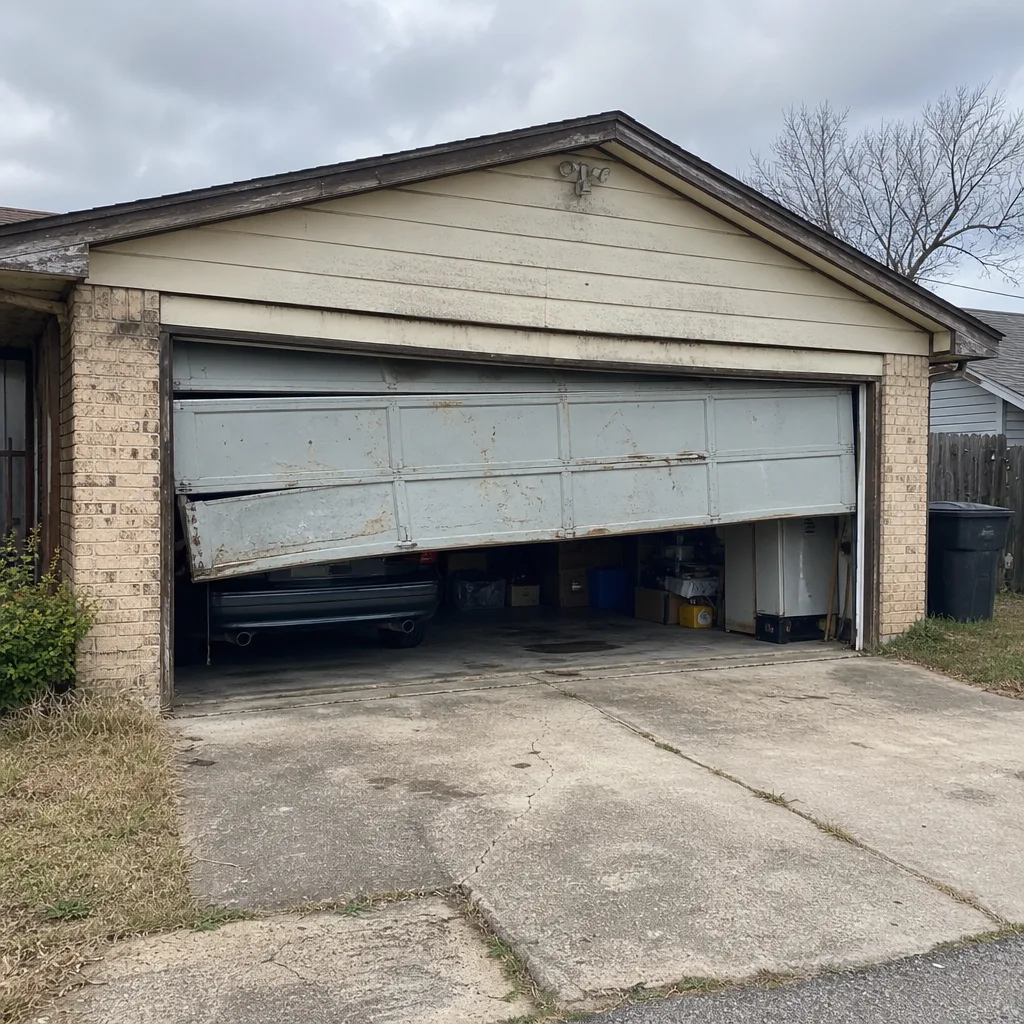 Before
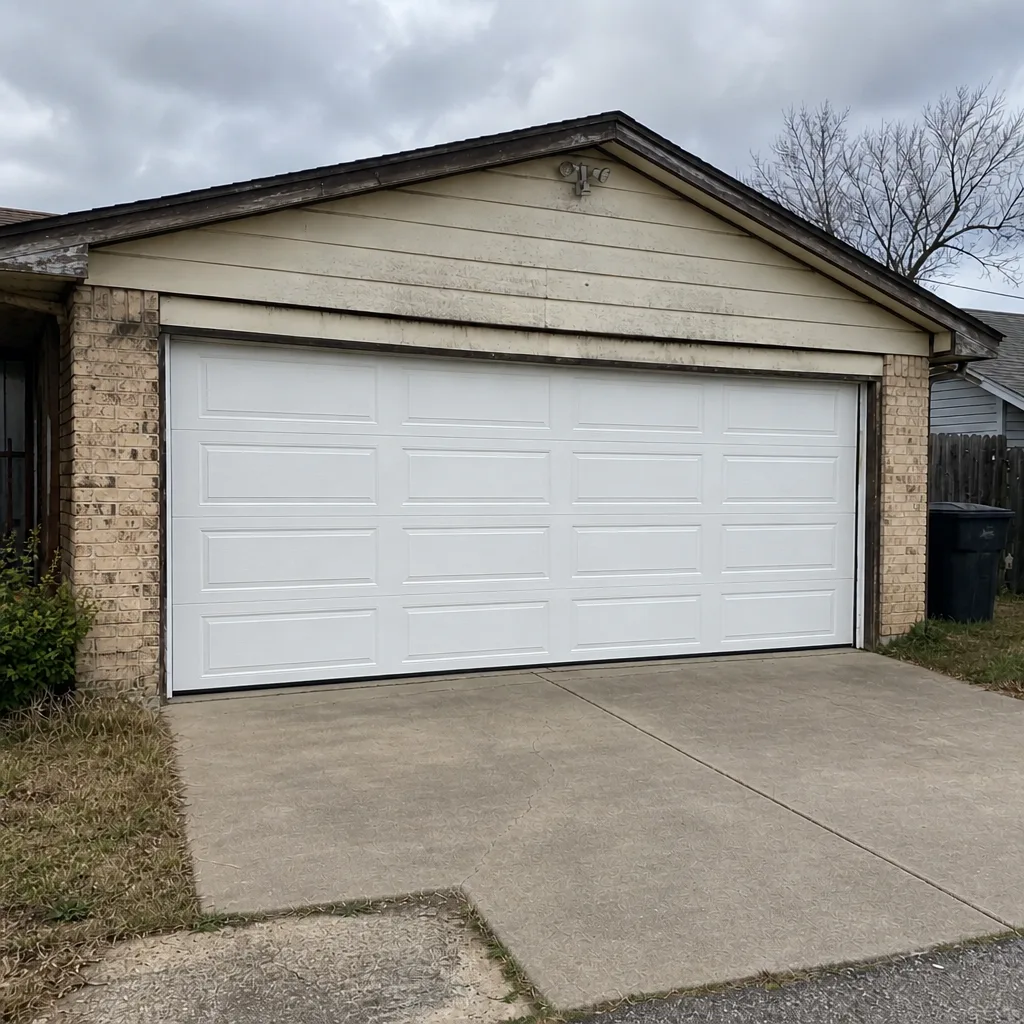 After
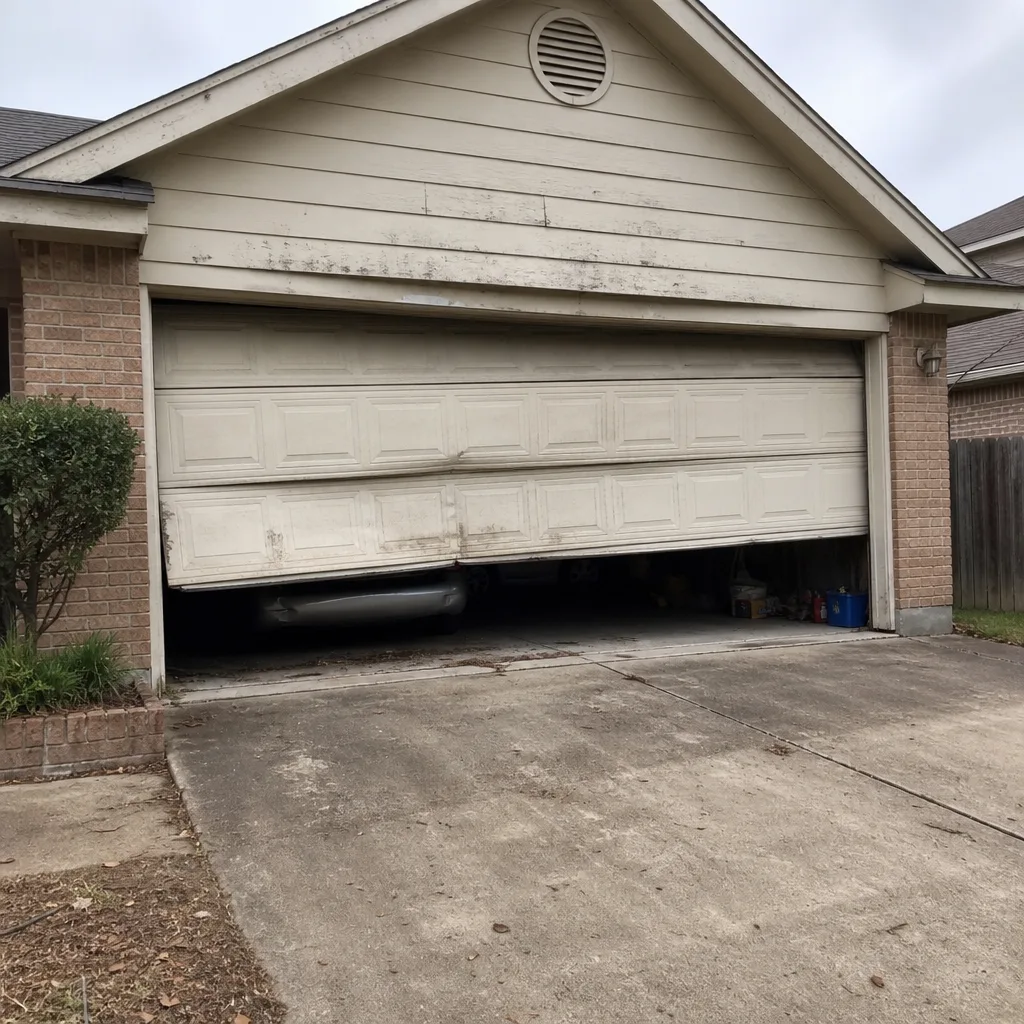 Before
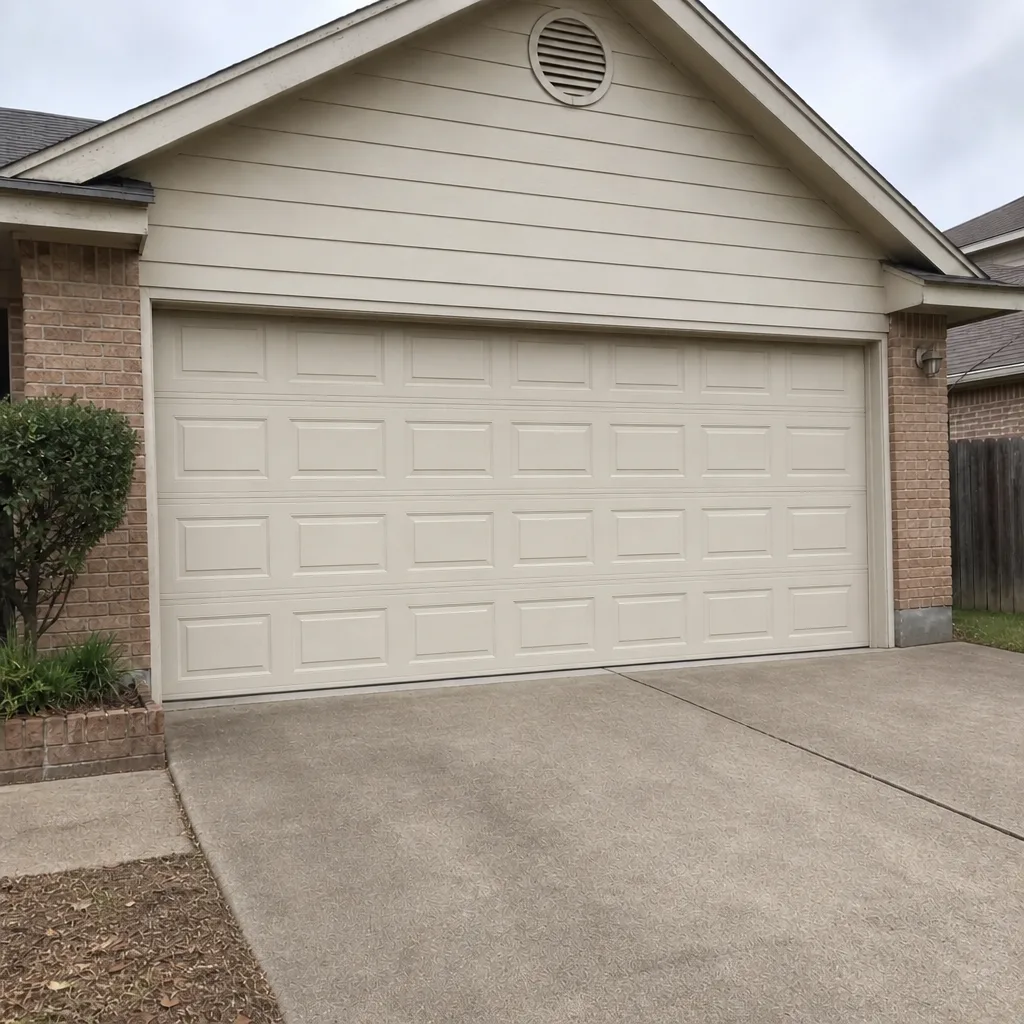 After